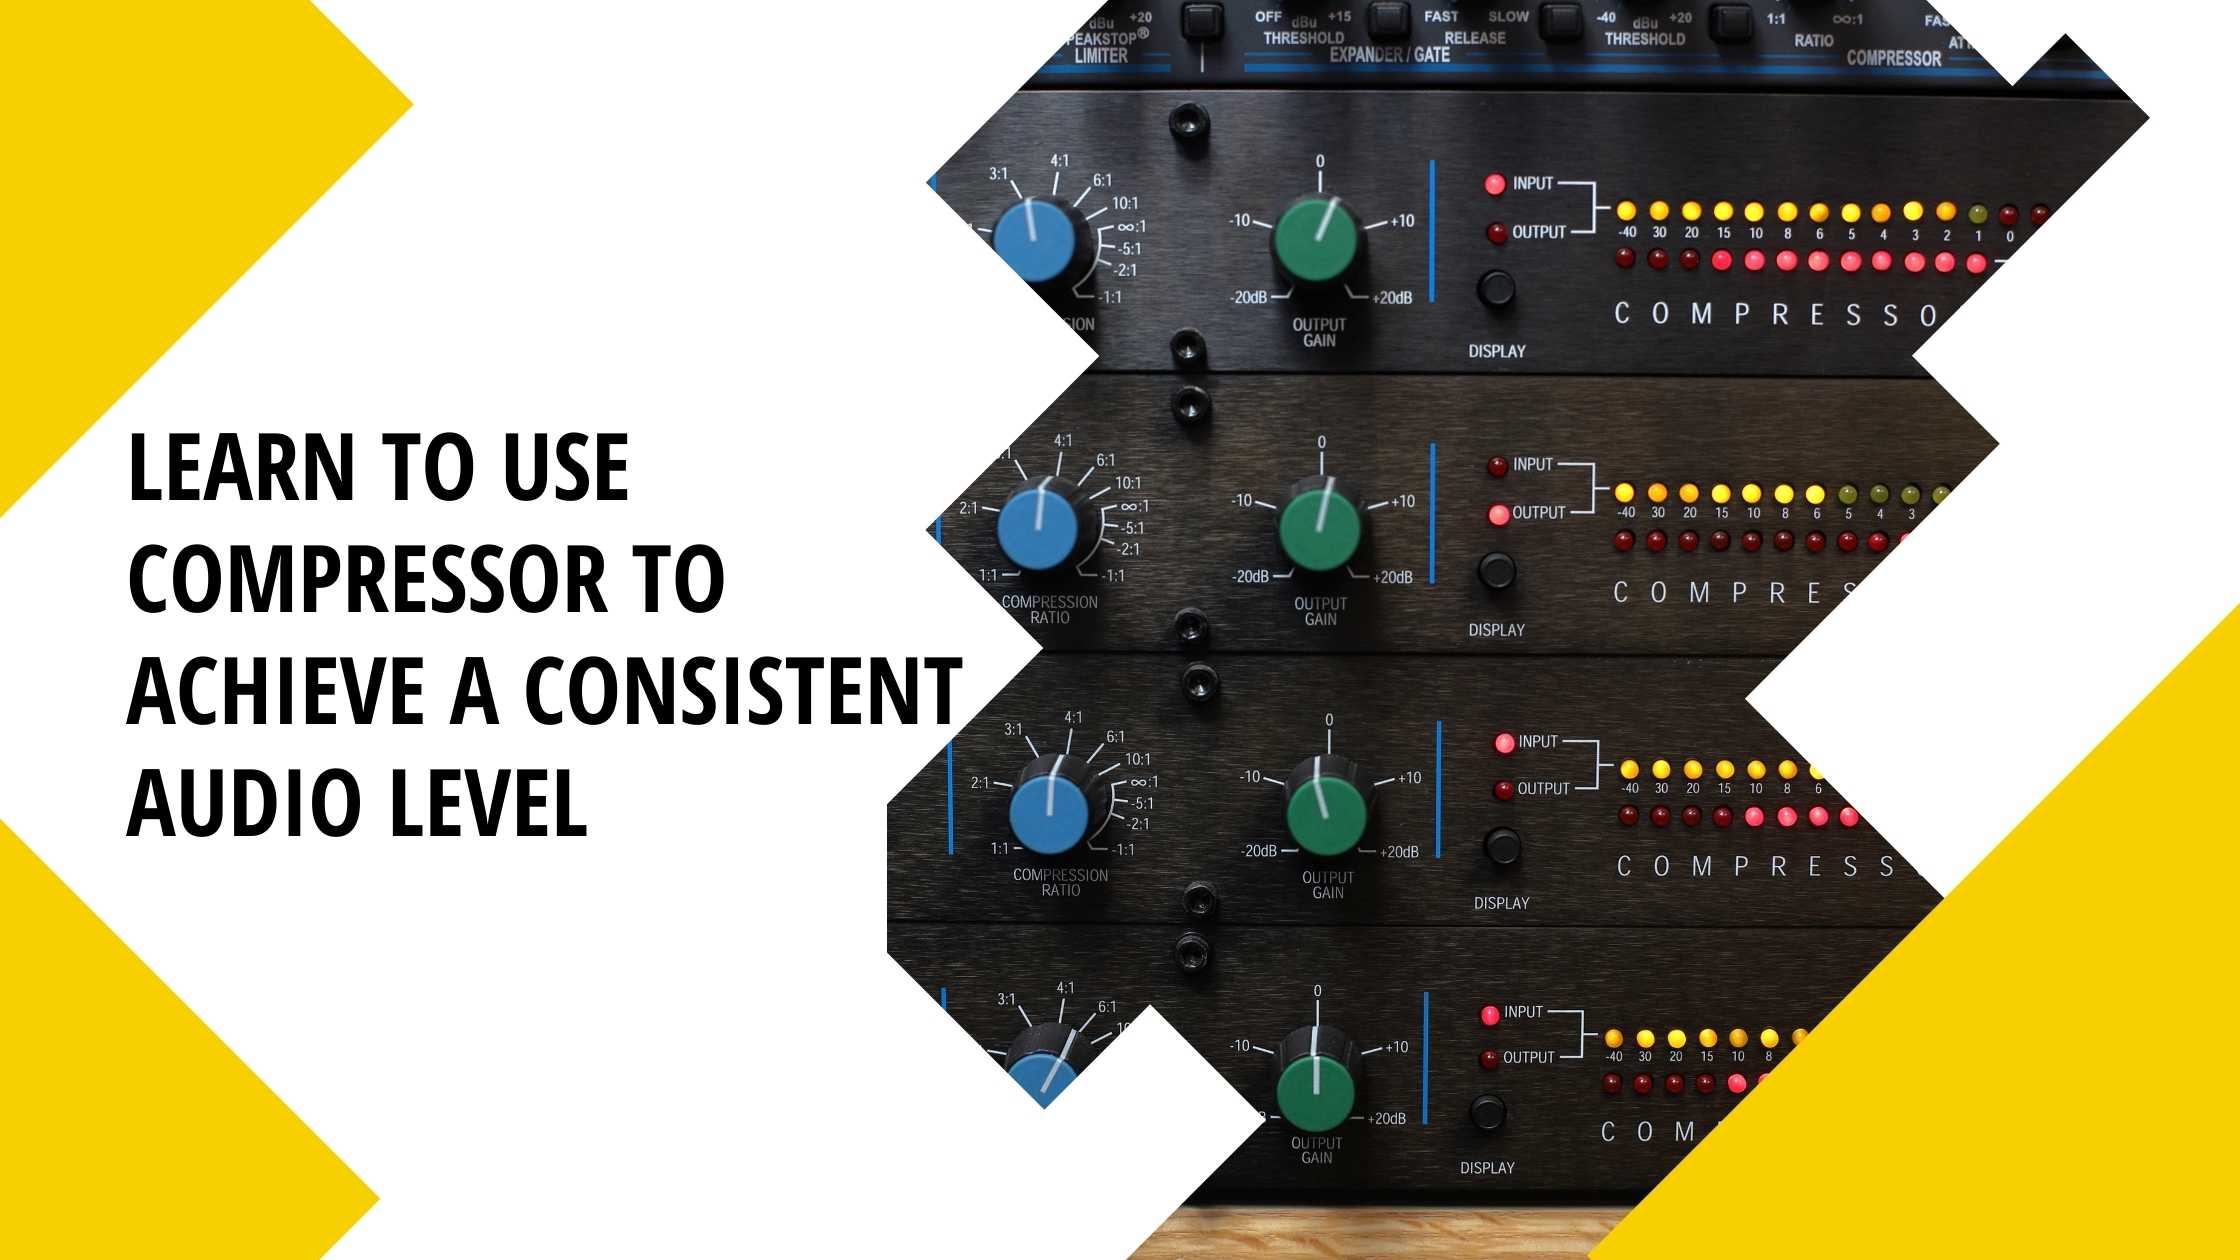
Compressor for podcasters?
Learning to use an audio compressor in podcast editing is one of the most important steps you can take to improving your podcast audio quality.
First, we start by answering the most important question, “What is a compressor, and when do you need it?”
What Is A Compressor?
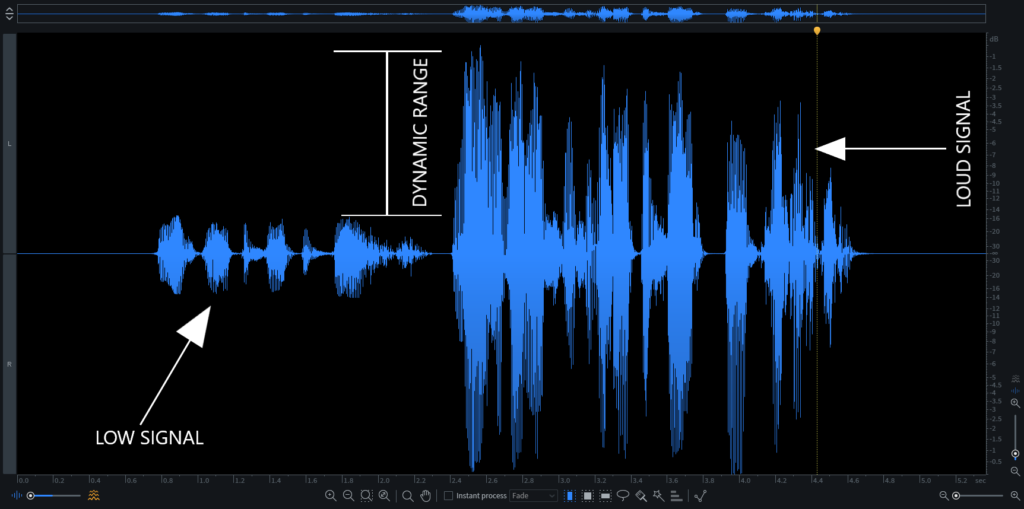
Basically, a compressor is a module used for controlling the dynamic range of audio by bringing down the level of the loudest parts, meaning the loud and quiet parts are now closer together in volume and the natural volume variations are less obvious.
When Do You Need A Compressor?
Now, if you are like me and you scramble for information on iTunes. You must have noticed some podcast episodes with inconsistent loudness. Some sections of the episode being louder or quieter than the other, or one speaker appearing quieter or louder than the other speaker. In such cases you are forced to constantly increase or reduce the volume as you listen, clearly, a compressor was either missed or not properly used during the editing.
Need some help editing/niching your podcast show? Or, maybe you haven’t started your podcast yet and you’re just realizing that your idea is WAY too broad. We’re happy to help!
GET STARTED
The Knobs In A Compressor
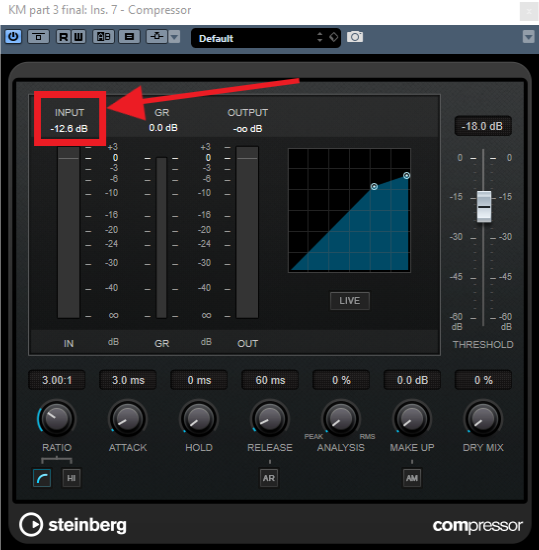
In this article, we will be using the stock compression found in Steinberg Cubase 10 Pro (A digital audio processing software). However, every compressor the same knobs. So no matter the compressor you are using you can easily follow along. Some of the important knobs you will find in most compressors includes Input Gain, Attack, Threshold, Release, and Output Gain. In the following sub-headings, we will discuss the aforementioned modules.
1. Input Gain
This controls the volume of the audio before it is processed. Some compressors may not have a knob for this, but only metering display showing the input level. As discussed in gain staging, remember to always keep your inputs level peaking at around -12dB to -15dB to avoid clipping by any means.
2. Threshold/Target
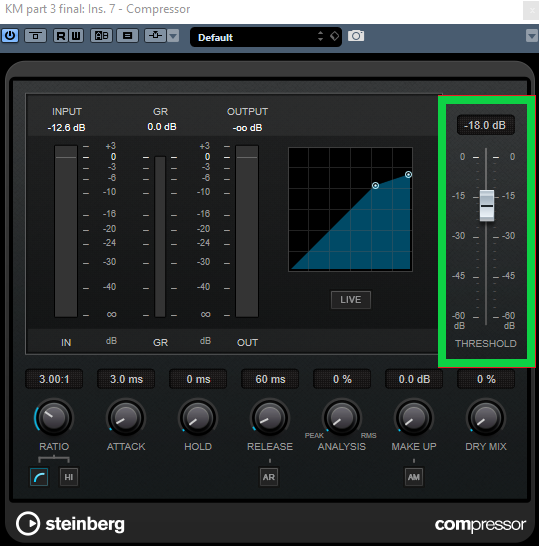
As we already know the compressor helps to bring down the overall level of the loudest parts of your recording. But how does it do that? It looks at the peak level of the incoming signal and it only starts to apply to process once the audio crosses a set Threshold.
In essence, the threshold determines when and at what point the compression begins.
3. Ratio
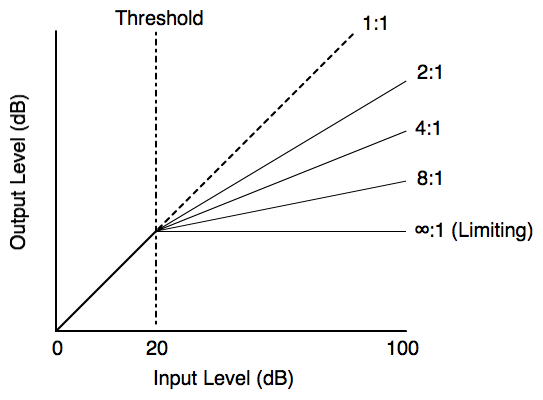
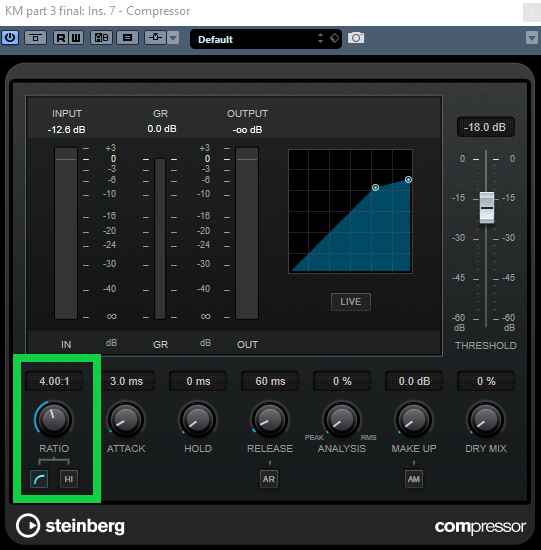
The ratio knob determines how much processing should be done once the signal goes above the set threshold. The higher the ration, the more compression there is.
The ratio seems to be the most confusing knobs to new podcasters editing their podcast by themselves. The easiest way to show you how the ratio works is by showing you some numbers.
- If the ratio is 1:1, there is no compression at all.
- If the ratio is set at 2:1, for every 2dB of sound that goes over the threshold, you get 1 dB of output above the threshold. So if the signal goes over the threshold by 10dB, the compressor reduces this signal so it’s now 5dB over the threshold.
- If the ratio goes up to 4:1, for every 4dB of sound over the threshold you would get 1dB of output above the threshold. So if the signal goes over the threshold by 12dB, the compressor reduces this so only 3dB goes over the threshold.
To make it all simpler, here is a simple math methodology to guide you;
On bullet 2 above, when the ratio is set to 2:1, just divide the level of signal that goes over the threshold. That is 10/2 = 5
On bullet 3 above, when the ratio is set to 4:1, just divide the level of signal that goes over the threshold. That is 12/4 = 3
Need some help editing/niching your podcast show? Or, maybe you haven’t started your podcast yet and you’re just realizing that your idea is WAY too broad. We’re happy to help!
GET STARTED
4. Attack
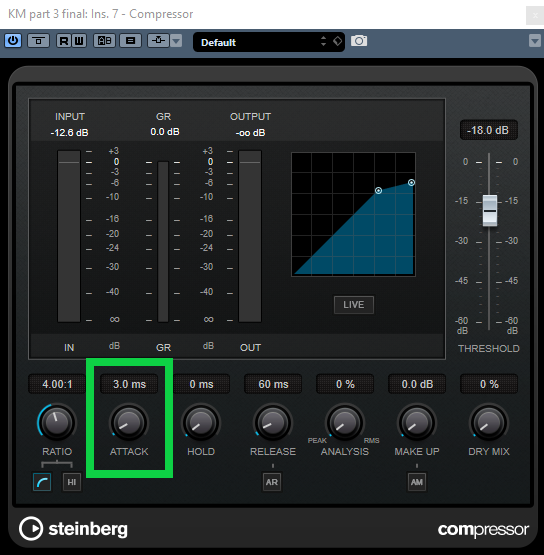
The attack determines how fast the compressor starts to process the audio. It’s usually measured in milliseconds (ms).NB: The attack also defines how farther or how closer the audio signal is perceived by the ear. A fast attack between 0ms to 3ms makes the audio signal perceived as it was farther behind. A slower attack 7ms above makes the audio signal perceived as it was closer to your ears. That being said, this applies more to music; than a podcast recording. Hence, at 3ms is a good value to set your attack when editing your podcast audio.
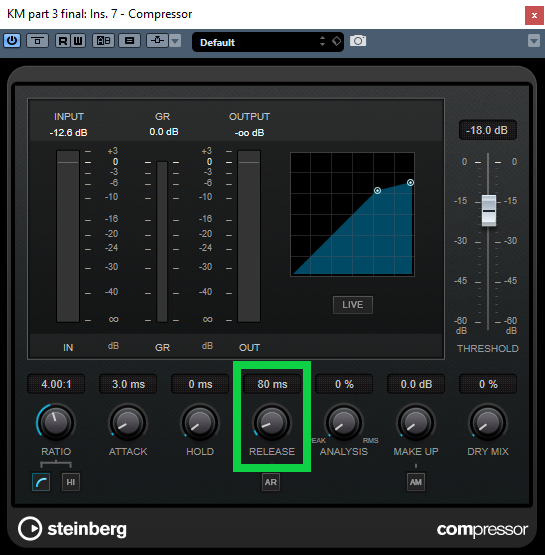
5. Release
This is the time that the compressor takes to let the signal return to normal once it has fallen below the threshold level. Again, usually measured in ms.
6. Output Gain/Make-up Gain
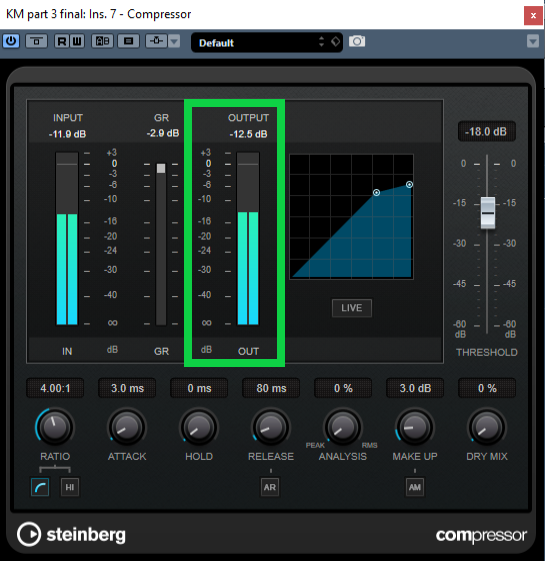
If the audio signal has been compressed, the overall level of the signal will be reduced. Increasing the output gain raises the level coming out of the compressor, so the volume can be more easily matched to the levels of the rest of the other speaker’s audio tracks.
In some compressors, you till notice an AUTO GAIN feature. When set on this will automatically bring up the whole signal by the amount of gain reduction it applies to the peaks making it louder and even with other speakers’ audio tracks.
Other Knobs You May Find In Some Compressors
1. Knee
Soft-knee compression is gentler on the sound as it goes through the audio compressor – the change from uncompressed to compressed sound is smoother. Hard-knee compression is a more immediate and obvious effect.
2. Noisefloor
This setting further reinforces what the Threshold is doing. It can be used to make sure “silence” itself isn’t amplified during pauses in speech.
If you feel that this room noise is being boosted in-between words, you can increase the Noisefloor level to prevent it.
Final Thoughts
The compressor is an essential plugin when editing your podcast audio. But before you use one, it’s important to understand the names of the various controls, how they work, and how they interact with each other.
Once you have this understanding, using an audio compressor in your mix becomes much easier and can lead to both technical and creative applications of this very important piece of equipment.
Despite hoping this article has been conclusively helpful, we understand Some podcasters love to learn the ins and outs of audio production and work on mastering this skill. To be honest, audio engineering skill is one that takes time, patience, and dedication. It is totally based on experience from trial and error and then understanding.
The BIG QUESTION is this, “Would rather spend 3 years mastering the art by scrambling for pieces of information from blogs and youtube videos?
Or “Would you rather spend 1 month learning everything you need to edit your podcast show all by yourself with our Step by Step Podcast Editing Course”
GET THE EASY PODCAST EDITING COURSE HERE!
(COMING SOON)
Do you have a question or feedback to share or other great tips? Let us know what you think and we will try to respond to them as soon as possible.

